Summary: in this tutorial, you’ll learn how to install PHP on your computer locally to start learning PHP.
Installing PHP on your computer allows you to safely develop and test a web application without affecting the live system.
To work with PHP locally, you need to have the following software:
- PHP
- A web server that supports PHP. We’ll use the Apache webserver.
- A database server. We’ll use the MySQL database server.
Typically, you won’t install all this software separately because connecting them is tricky and not intended for beginners.
Therefore, it is easier to find an all-in-one software package that includes PHP, a web server, and a database server. One of the most popular PHP development environments is XAMPP.
XAMPP is an easy-to-install Apache distribution that contains PHP, MariaDB, and an Apache webserver. It supports Windows, Linux, and MacOS.
Note that MariaDB is a fork of the most popular relational database management system, MySQL.
Download XAMPP #
To install XAMPP on Windows, go to the XAMPP official website and download the appropriate version for your platform.
Install XAMPP on Windows #
To install XAMPP on Windows, you can follow these steps:
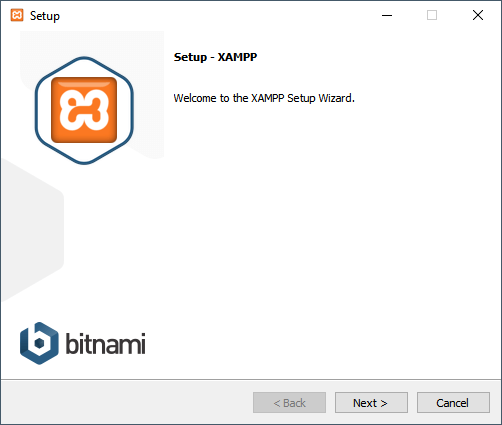
Step 1. Start the installation #
Double-click the downloaded file to start setting up XAMPP:
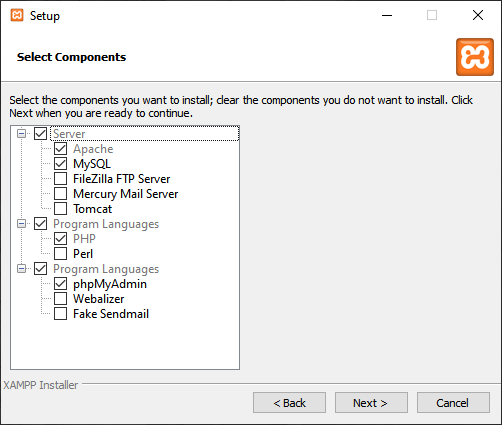
Step 2. Select components to install #
Select the components that you want to install. In this step, you can select Apache, MySQL, PHP, and phpMyAdmin, deselect other components like the following, and click the Next button to go to the next step.
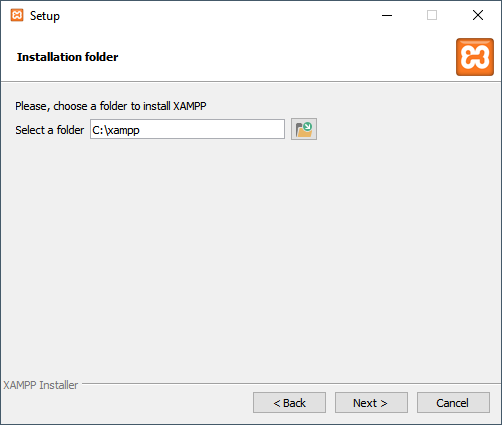
Step 3. Specifying the installation folder #
Select a folder to install XAMPP. It’s recommended to install XAMPP in the c:\xampp folder. Click the Next button to go to the next step.
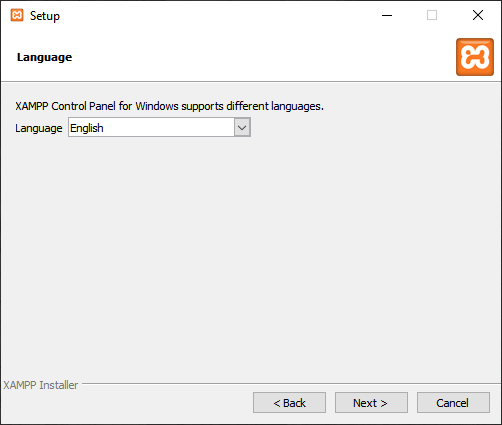
Step 4. Selecting a language #
Select a language for the XAMPP Control Panel. By default, it’s English. You can select your preferred language and click the Next button to proceed to the next step.
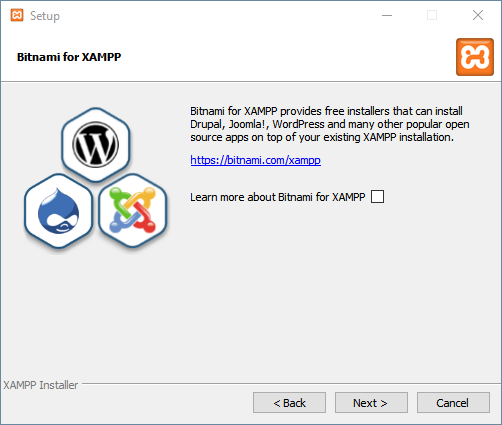
Step 5. Bitnami for XAMPP #
Feel free to skip this step because you don’t need Bitnami to learn PHP. Just click the Next button to proceed to the next step.
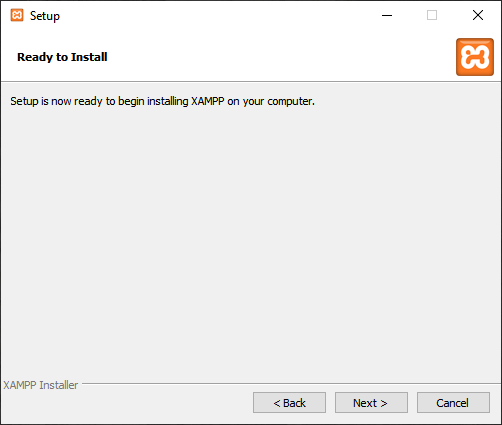
Step 6. Begin installing XAMPP #
You’re now ready to install XAMPP. Click the Next button to start the installation, which will take a few minutes to complete.
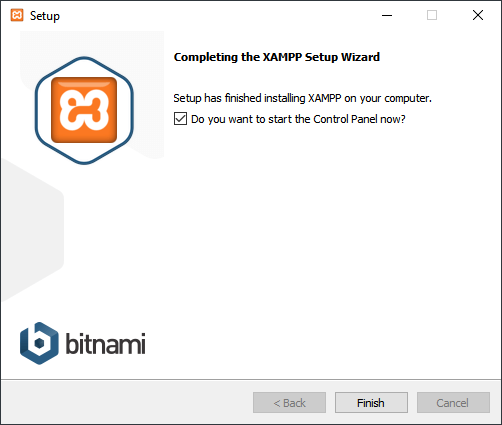
Step 7. Completing the XAMPP setup #
Once completed, the XAMPP setup wizard shows the following screen. You can click the Finish button to launch the XAMPP Control Panel:
Step 8. Completing the XAMPP setup #
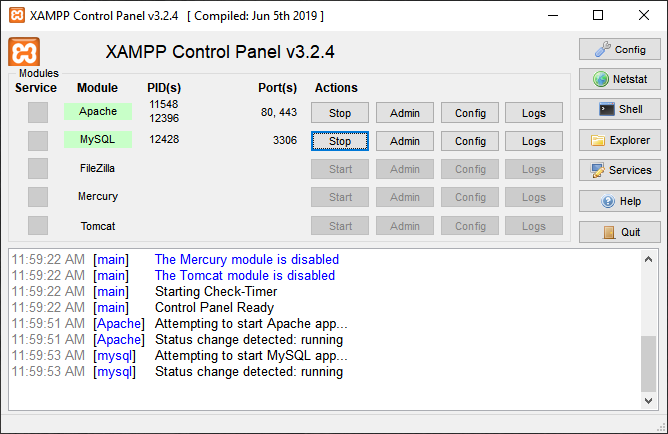
The XAMPP Control Panel lists installed services. To start a service, you click the corresponding Start button:
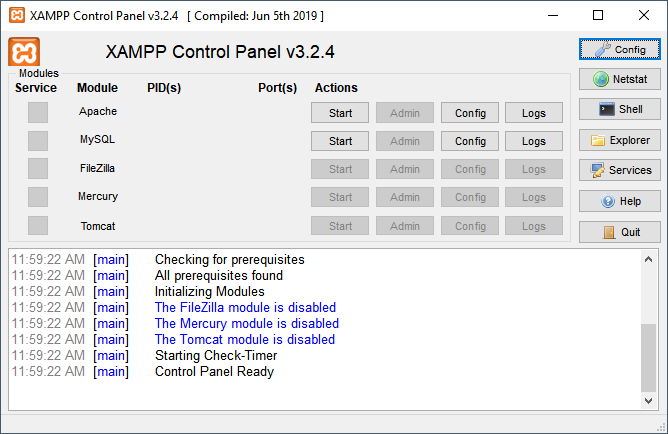
The following shows the Apache web server and MySQL are up and running. The Apache web server listens on ports 80 and 443 while the MySQL listens on port 3306:
Step 9. Launch the XAMPP #
Open the web browser and navigate to the following URL: http://localhost/. If the installation is completed successfully, you’ll see the XAMPP welcome screen.
Troubleshooting #
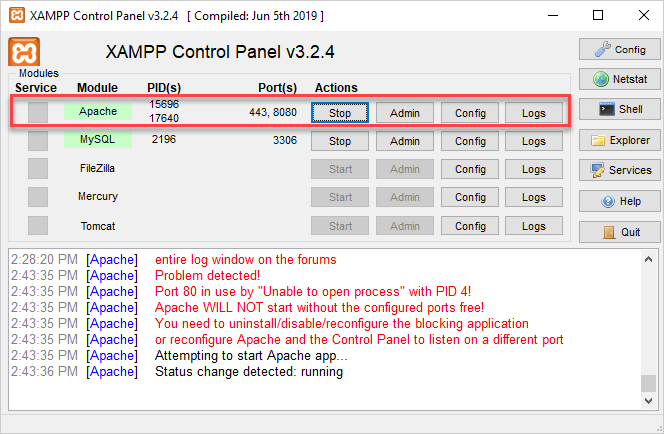
By default, Apache uses port 80. However, if port 80 is used by another service, you’ll get an error like this:
Problem detected!
Port 80 in use by "Unable to open process" with PID 4!
Apache WILL NOT start without the configured ports free!
You need to uninstall/disable/reconfigure the blocking application
or reconfigure Apache and the Control Panel to listen on a different portCode language: plaintext (plaintext)
In this case, you must change the port from 80 to a free one, e.g., 8080. To do that, you follow these steps:
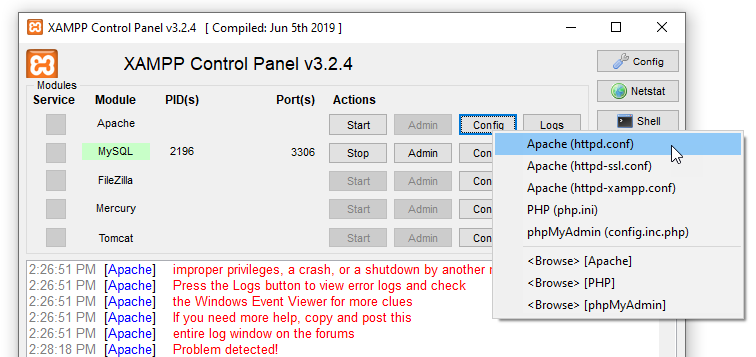
First, click the Config button that aligns with the Apache module:
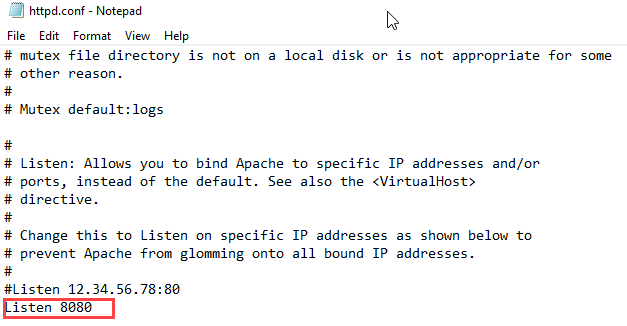
Second, find the line that has the text Listen 80 and change the port from 80 to 8080 like this:
Third, click the Start button to start the Apache service. If the port is free, Apache should start properly, as shown in the following picture:
In this tutorial, you’ve learned step by step how to install the XAMPP PHP development environment on your computer.